For Integrating AuthSafe using WHMCS plug-in:
- Go to https://marketplace.whmcs.com/product/6035-authsafe
- Download and install the plugin.
- Obtain Property ID and Secret from AuthSafe Dashboard:
- Log in to AuthSafe account.
- Click Settings > API Keys.
- Copy Property ID from Property ID field.
- In the Property Secret field, click Generate to create a property secret.
Overview
In the guidance document, we explain how you can integrate AuthSafe in WHMCS.
To use AuthSafe in WHMCS, users need to install and configure the WHMCS module. After successfully integrating the AuthSafe, you can access the fraud analytic dashboard from the Authsafe client panel.
Installation and Configuration
Easy to set up, and it takes a few minutes. Below are the steps for the installations and configuration process for AuthSafe.
Step1: Download AuthSafe module from WHMCS marketplace from here1 or direct download from here2.

Step2: Unzip the downloaded zip file and open your client FTP. Go to the path, <whmcsdir>/modules/addons/, and then upload unzipped modules content there.
Step3: Login to your WHMCS Admin and activate the AuthSafe Module.
- Go to System Settings → Addon Modules → AuthSafe → Activate
WHMCS Module is activated as shown in the below image:

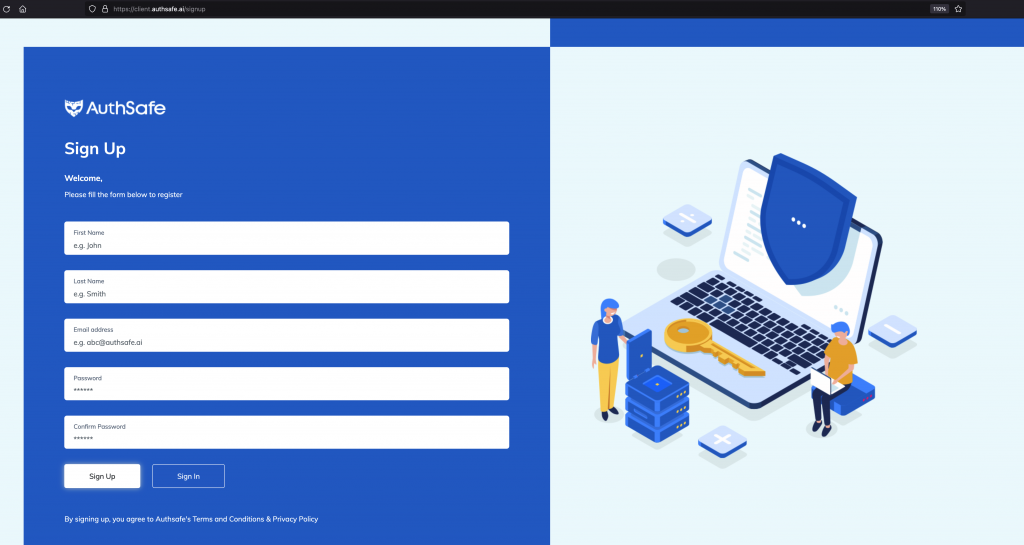
Step4: During the AuthSafe integration, you are required Property ID and Property Secret to complete AuthSafe configuration in WHMCS. Signup to AuthSafe from here3, fill up the registration form and register for a free trial. Signup form as shown in the below image:
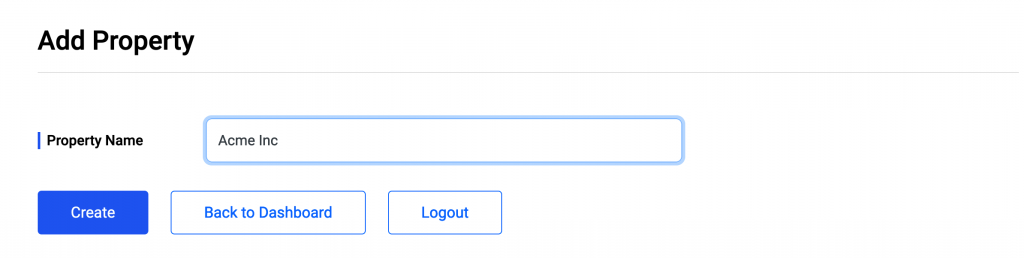
Step5: The next step is to add a Property Name which can be your company name or domain name. You can visit4 this URL for adding a property name.
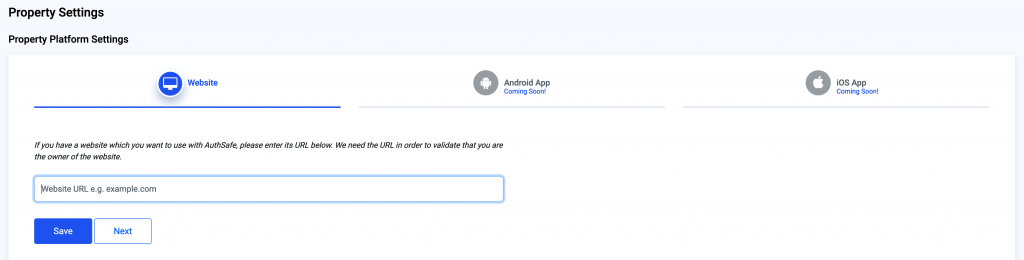
Step 6: After adding the Property Name, you will be redirected to the property platforms page where you need to enter the domain name of your property. For example, xyz.com, abc.xyz.com, etc.
To save the domain name, click Save and Next.
Step 7: You will be redirected to the Property Tracking Code page and you can ignore this step as WHMCS Module has this script in-build.
Stpe 8: On the API keys page, you need to click Generate button and copy the Property Secret and Property ID somewhere in notepad or any text editor.
Please note once you click Refresh or close the window, you cannot copy the same code again. You will have to generate fresh code.
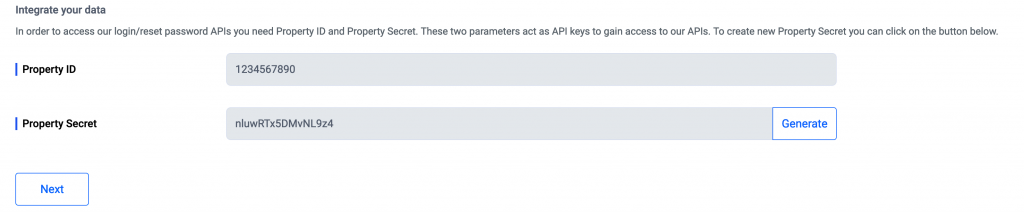
After the above steps are done, you will have Property ID and Property Secret which are needed on the WHMCS Plugin settings page to activate the plugin.
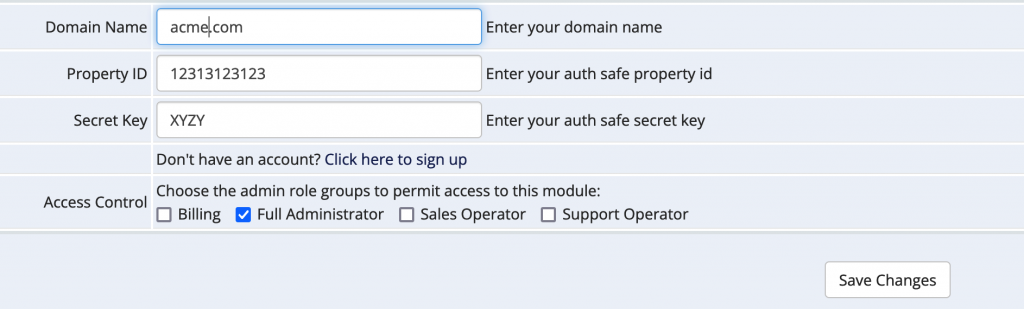
Step9: Open your WHMCS Addons page from where you can activate and manage add-on modules.
Go to Configure → Enter Domain Name → Property ID and Secret key → Save changes.
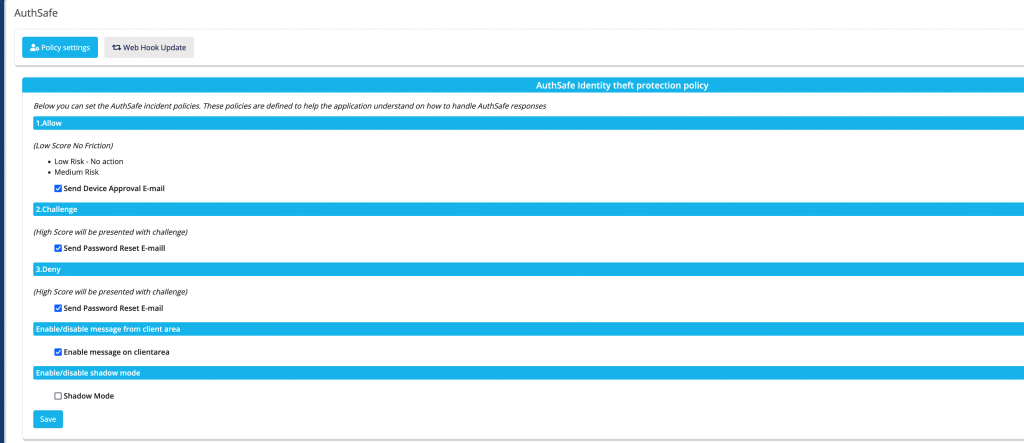
Step10: Next step is to set up the AuthSafe policy.
Go to top Nav Bar → Addons → select AuthSafe → set the policy setting there. You can enable the following policy.
Test If You Receiving Data
To authorize the communication between the WHMCS application and Authsafe click WebHook Update
Go to AuthSafe addons → click on WebHook Update Tab.
To confirm integration setup, Login to AuthSafe Dashboard using this URL and you will able to see the increase in Accumulated Logs as shown in below image.

For integration support, you can reach out to [email protected]
Reference Links
- https://marketplace.whmcs.com/product/6035-authsafe
- https://authsafe.ai/download/whmcs/whmcs_dir.zip
- https://client.authsafe.ai/signup
Glossary
- Property ID: This is domain name that you want to install.
- Property Secret: This is secret key which supposed to use to access the AuthSafe cognitive engine. **Do not share this key with anyone**
- Property Name: Which can help you identify the property e.g. Example.com, Example Website, etc.
- Property Tracking Code: This is JavaScript code used for device fingerprinting.